This is my very first lesson in the 2024-2025 MedAI Cheminformatics Training. I wanted to give monitors insights about using virtual environments in Python development. Why? Well, Python and coding should be fun, right? So I don’t want them to ever:
Reinstall all of their Python environments because of package conflicts.
Break their own PC. Yeah, it’s true. I had a friend override the Ubuntu’s Python, resulting in breaking the whole OS. “Why can’t I open the Settings?” was the beginning of the nightmare.
Find out that they installed the latest package releases, then the things they wanted to run threw a bunch of DeprecationWarning or red lines. Hey, hey, HEY! We should focus on our problems, not fixing tools that we don’t even know if they could make any improvement to our projects.
We want results, not errors. I can’t deny that I, a maniac, will deeply dive into fixing those errors. That’s why I certainly understand how time-consuming the progresses can be. Therefore, I wanted my monitors to focus on the problems, not the tools. Then the lesson began…
Understand the general concept of operating systems (OSes), command-line interfaces (CLIs) and environment variables.
Use the terminal/shell of your working operating system.
Understand the general concept of virtual environments.
Use conda to manage Python virtual environments.
1. A brief tour
There are many operating systems (OSes) existing nowadays, such as Microsoft Windows, Apple MacOS, Linux and its distros (Linux distributions), and mobile OSes such as Apple iOS, iPadOS, Android, HarmonyOS, etc. It is crucial to identify which OSes and their versions we are using on our devices in order to choose the right tools and make troubleshooting processes easier. In the scope of this course, we only cover the two most popular branches of OSes, Windows, and Unix-like OSes (MacOS and Linux).
Operating systems (OSes)
Microsoft Windows
Unix-like OSes
Apple MacOS
Linux distros, for example, Ubuntu.
There are some noticeable differences between those OSes. For examples:
Path to files folders: On Windows, paths to files or folders start with a drive letter followed by a colon (“:”). Separators between levels are backward slashes (“\”). For example: C:\Data\filename.py is a path to the filename.py file in the Data folder in drive C:. However, on Unix-like OSes, every path starts from the root folder, which is symbolized as /. Separators between levels are forward slashes (“/“). For example: /home/admin/Downloads/ is a path to the Downloads folder in the admin home folder.
Programs: Windows users may find it familiar with executable files of software ending with the .exe extension, while executables in Unix-like OSes can have no file extension at all. On MacOS, some software is also bundled within .app files. However, they are just folders containing the executables and resource files.
etc.
For developers, using “command applications”, usually called command-line interfaces (CLIs), is a widespread manner. CLIs are programs that only utilize text (command), compared to graphical user interfaces (GUIs) that have windows, buttons, images, videos, sounds, etc. Python executable, python on Unix-like OSes or python.exe on Windows, is also a CLI that runs Python files. To run CLIs, we could use programs called shells or terminal emulators (host applications for shells, usually called terminals for short).
On Windows, Command Prompt and PowerShell are preinstalled shells to run CLIs. On Windows 11 and newer, a terminal application is also preinstalled, named Windows Terminal, which is a host application for shells. On Unix-like systems, there are various options of shells and terminals to choose from. The most popular shell on Unix-like OSes is bash. Some other famous shells are zsh, fish, etc.
To run CLIs in shells, we can use the exact paths to the executables. For example:
Why did someone just use python, not /…/…/…/python? Because the path of the folder containing the python executable existed in the environment variables. Environment variables are pre-defined variables for shells and CLIs to use for operations or convenience, especially the PATH variable. If the shell cannot find the executables or the user does not provide the exact paths, it will find the executables in the folders defined in the PATH variable, for example on how to set environment variables on Windows, environment variables on Ubuntu. Different OSes or shells may have distinct ways to set environment variables, therefore, one should always read the docs of the corresponding OS and shell he is using.
Things to note
Identify the operating systems (OSes) and the version we are using.
Recognize how to run command-line interface (CLI) applications on the OS we are using.
Environment variables are variables for shells and CLIs to use for operations or convenience. The setting of environment variables is different for OSes and shells.
2. How to run Python and why?
There are two typical styles to run Python code: a .ipynb notebook file (Interactive PYthon NoteBook, IPython Notebook, Jupyter Notebook or “Python notebook” for convenience) and a regular .py Python file.
2.1. Jupyter notebooks
In a notebook environment, we can run Python code in blocks usually called cells. Besides Code cells containing Python code, Python notebooks also have Markdown cells that contain regular text utilizing Markdown, a markup language. This type of Python file is exclusively helpful for exploring and explaining code bases, experimenting with ideas, visualizing and processing data since it allows users to run code in a block-by-block manner interactively, edit code and debug without having to rerun the whole file, as well as give notes or instructions in Markdown cells.
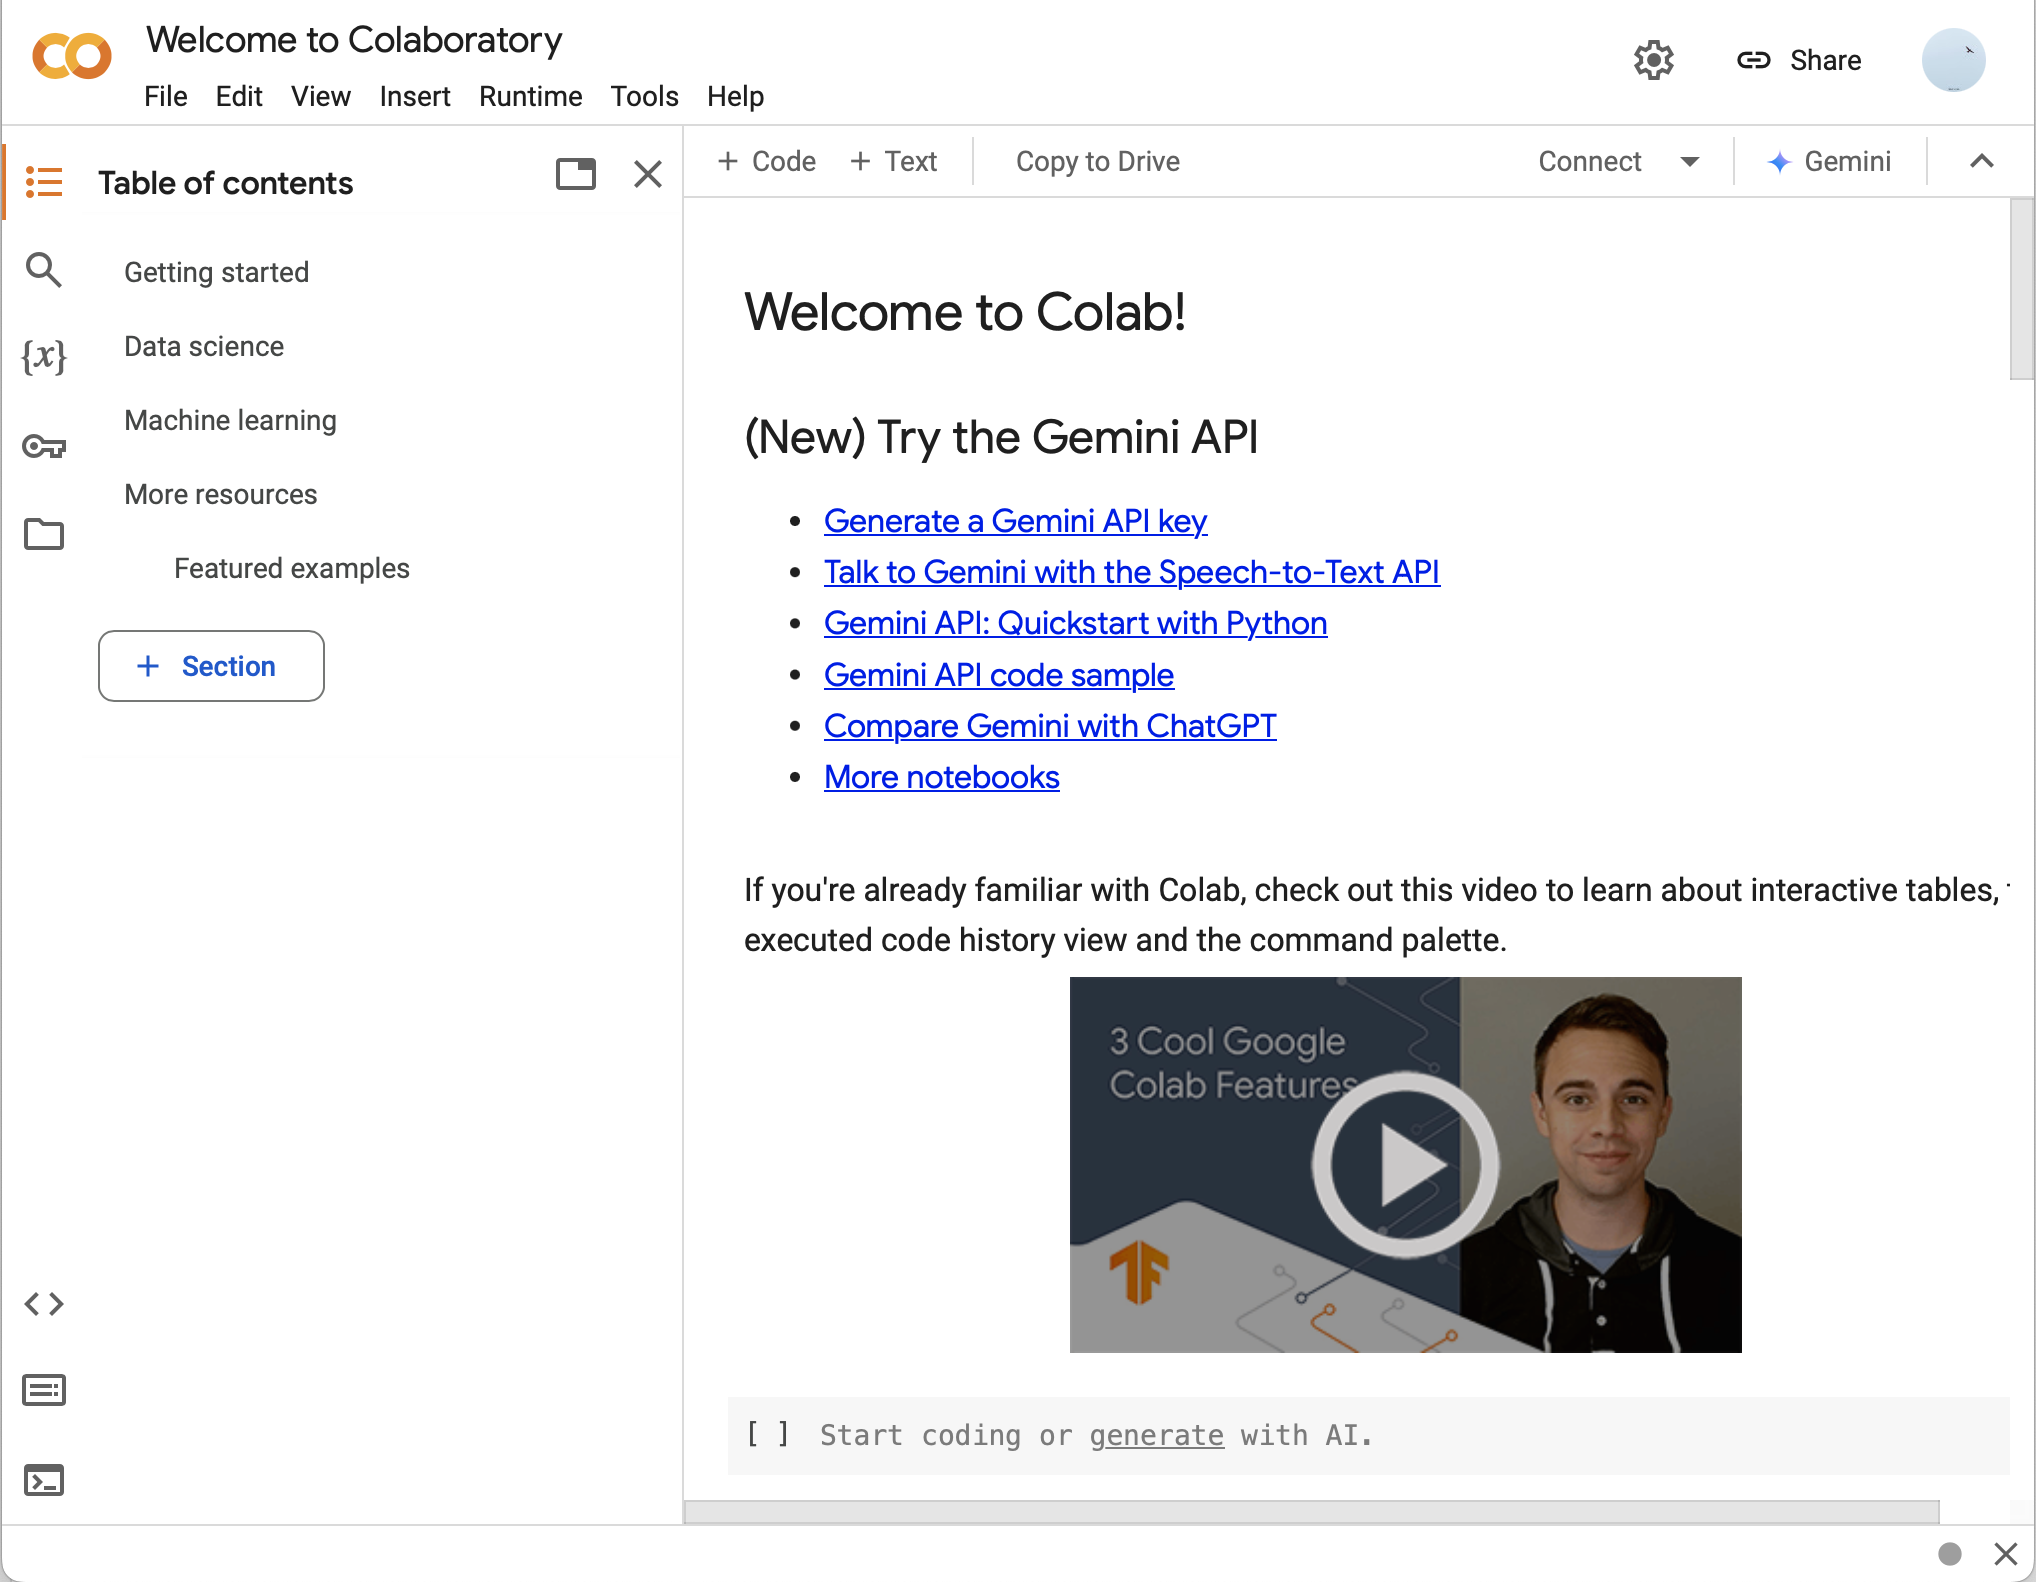
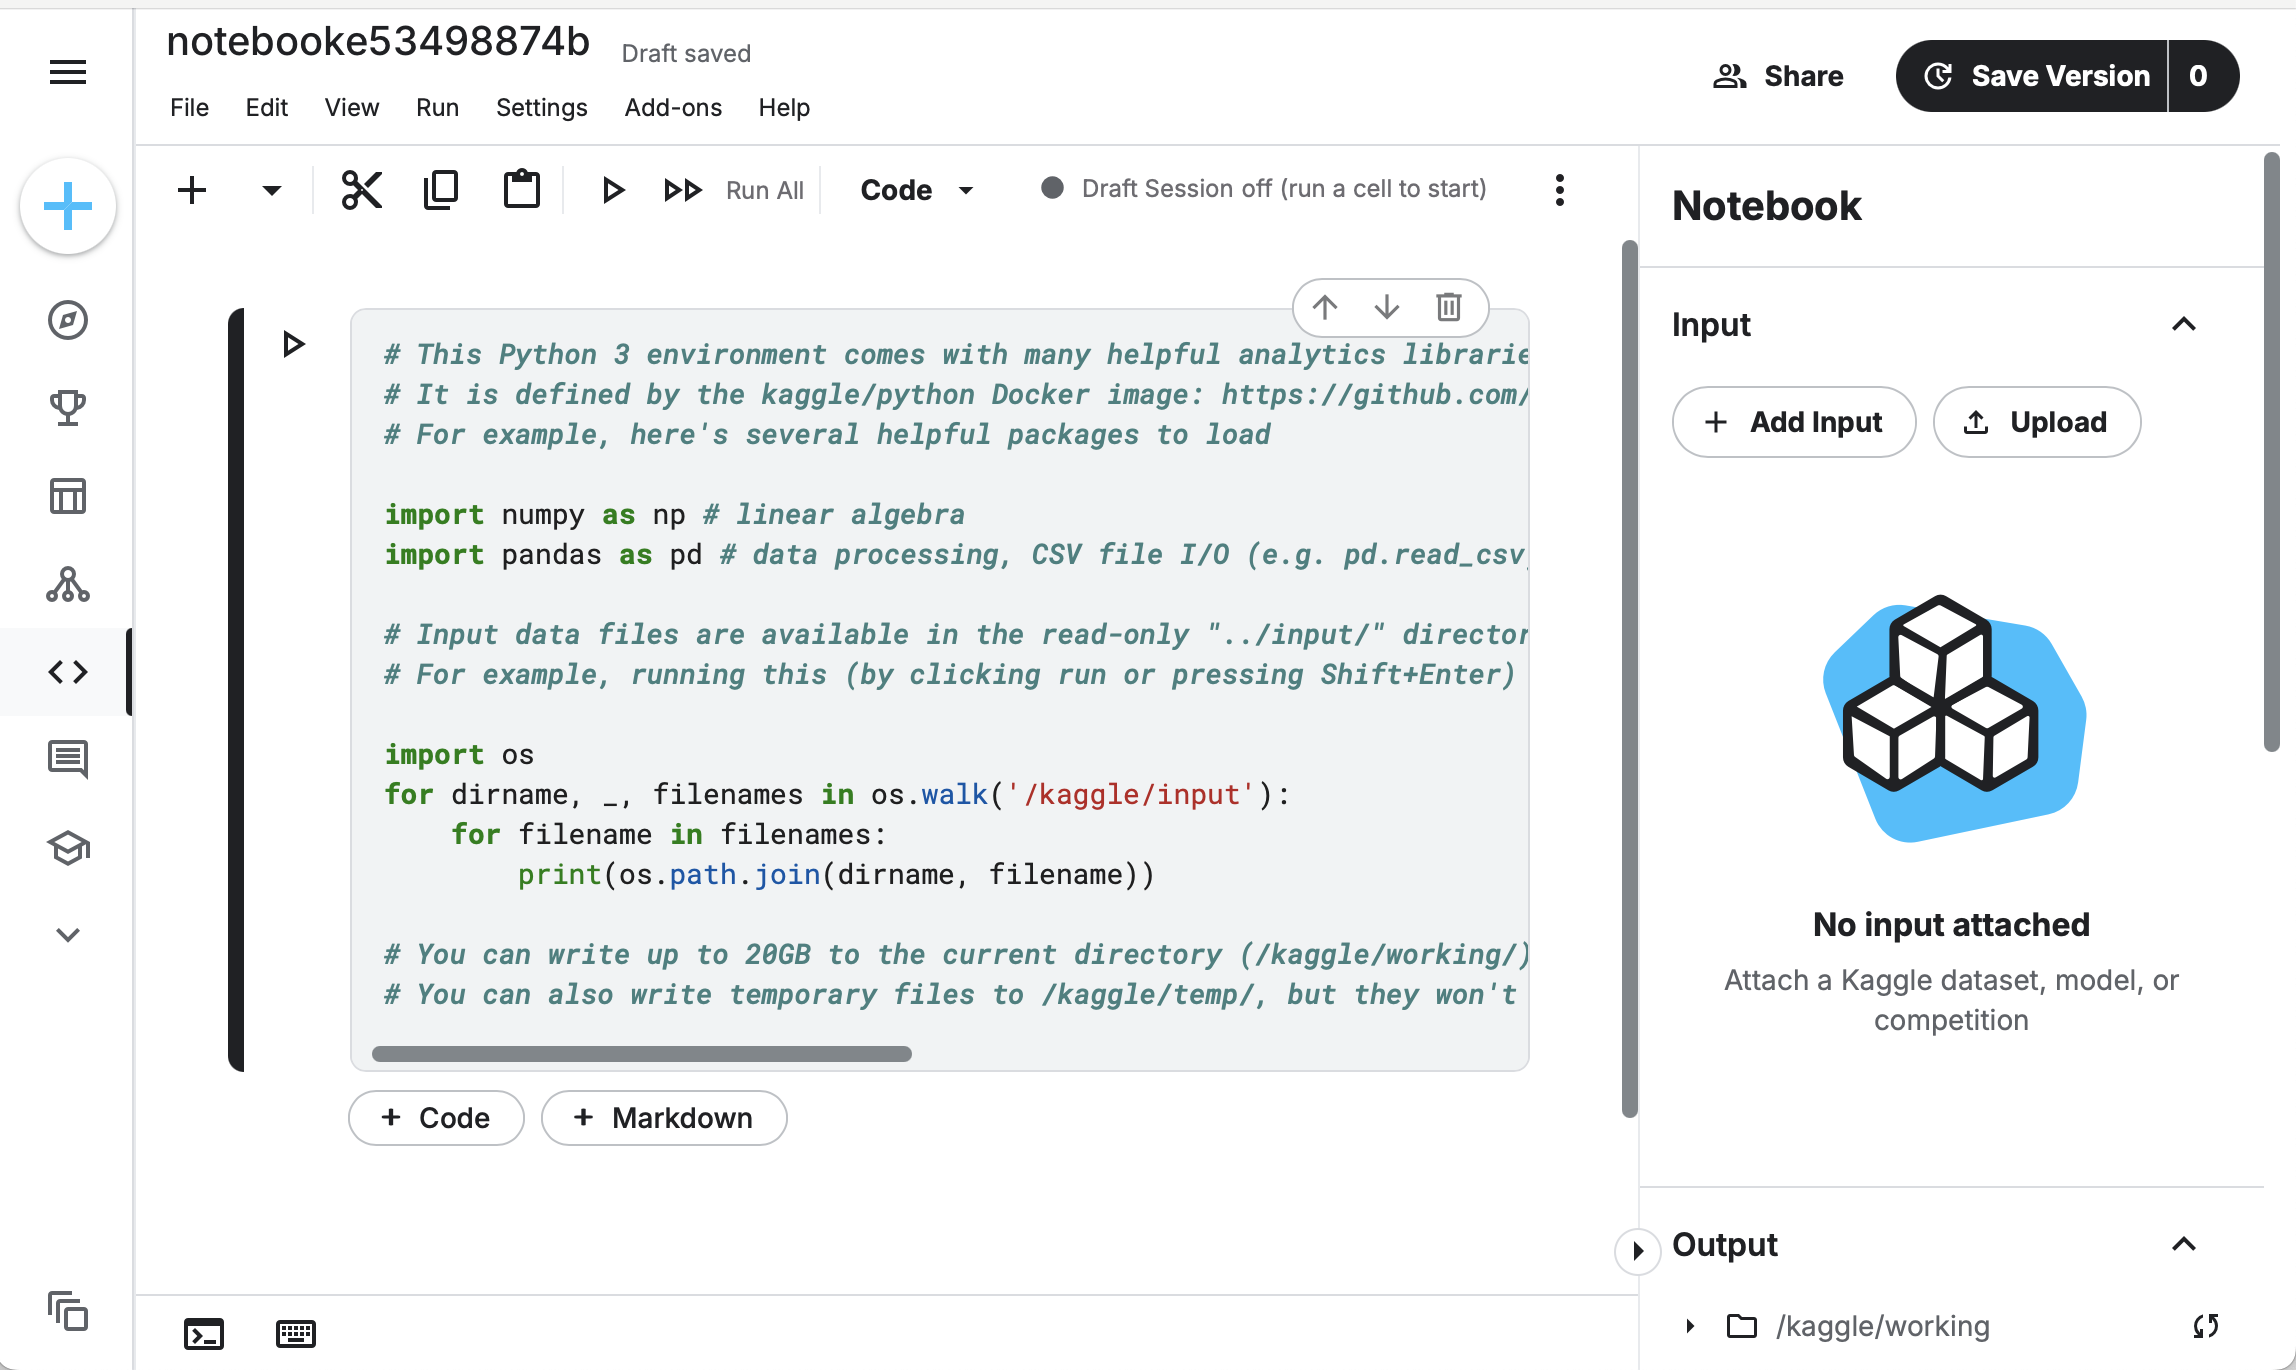
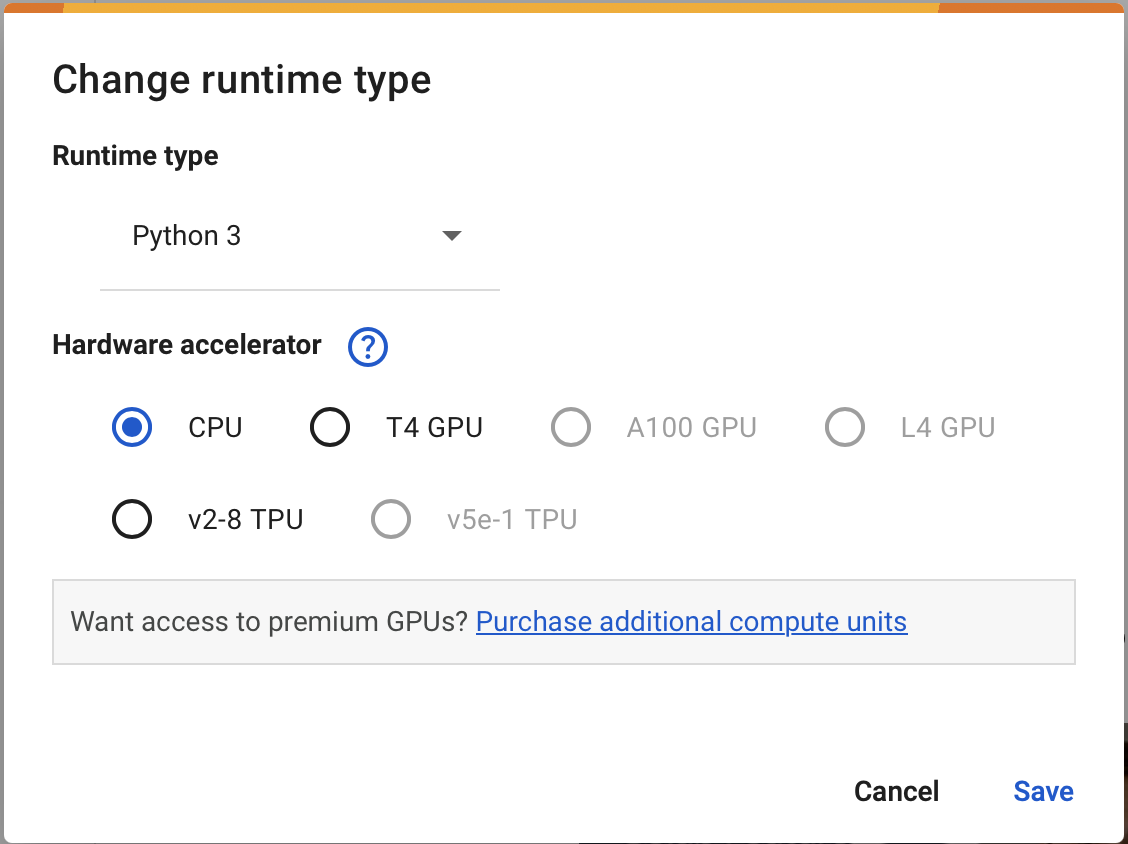
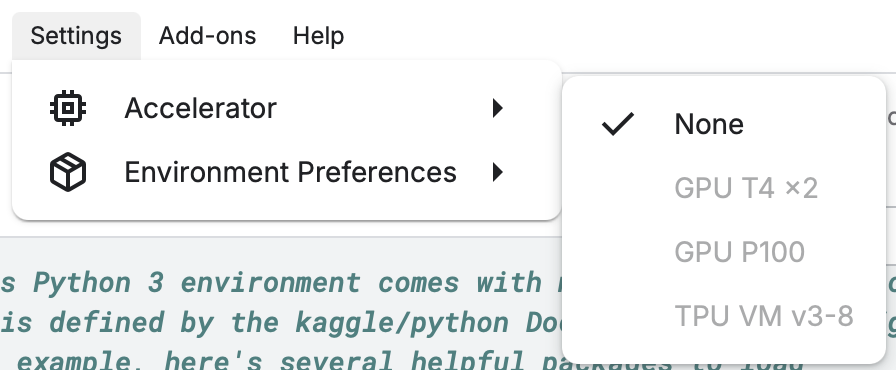
Python notebook is a good start for Python beginners because of its simple and intuitive usage. Popular online notebook platforms such as Google Colab (http://colab.research.google.com/) and Kaggle (https://www.kaggle.com) allow Python to be run without the need for a physical computer. Users of these sites can connect to their hardware, which comes with preinstalled Linux and Python development tools. Some sites also provide accelerated hardware, including CPUs, GPUs or TPUs, for higher processing performance in their free or paid subscription plans.
Google Colab and Kaggle's GPU acceleration options
Google Colab
Kaggle
Python notebooks are .ipynb files, so they can also be used offline or shared between machines. Jupyter Notebook or the newer JupyterLab from Project Jupyter (https://jupyter.org) are well-known platforms for offline or remote Python notebook development. Offline Python notebooks require proper Python and IPython kernel (ipython/ipykernel) installations. Other code editors (Visual Studio Code, Sublime Text, Notepad++, etc.) and IDEs (integrated development environments, such as JetBrains PyCharm) can also support Python notebooks either by themself or through plugins and extensions. By the time of this lesson, Visual Studio Code was suggested because of its modern yet simple UI and its extensive store of useful extensions free of charge.
Jupyter Lab
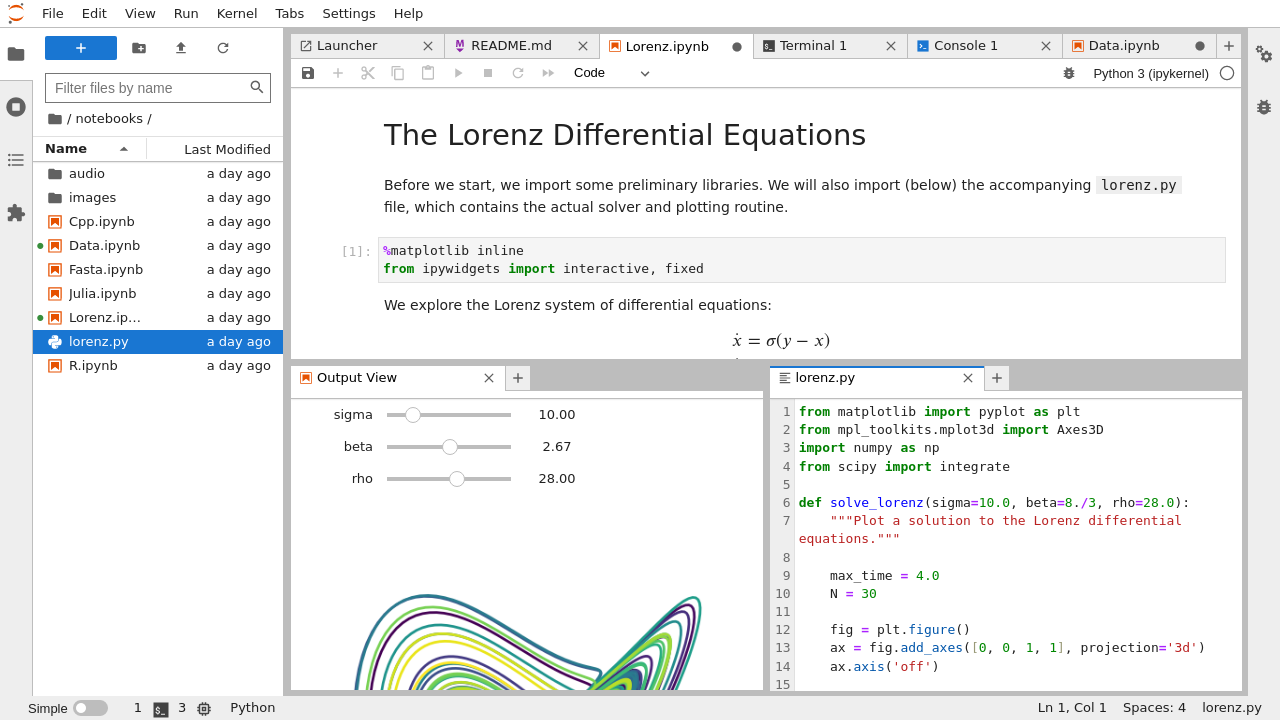
A Jupyter notebook in Visual Studio Code
Notebooks seem like a good start. However, they are not recommended for tasks that are time-consuming, heavy-computing or need automation. Notebooks are only helpful for exploring and experimenting. When tasks need to run in the background or consume excessive resources, notebooks become bulky and unreliable. Writing complex classes and functions for software is also not a good application for notebooks. Consequently, if tasks are not exploring or experimenting, regular .py files should be used instead.
Things to note
Jupyter notebooks (.ipynb files) consist of two types of cells: Code cells and Markdown cells.
Code cells for Python codes. Markdown cells for text with Markdown markup language.
Notebooks are helpful for exploring and experimenting. In other tasks, using .py files is recommended.
2.2. Python files
Want to write a function for later use? Python files. Want to develop Python software? Python files. Want to automate a pipeline? Python files. Train and test a machine learning/deep learning model? Python files. Want to…? Python files.
Python files (.py) are text files containing Python source code. Python files can do what Python notebooks can (but not interactively, of course). To run code in Python files, we must use the below terminal command line within a preinstalled Python environment:
python filename.py
or explicitly run using Python 3.x:
python3 filename.py
Python files are text files, so we can make and edit them using any text editors, including code editors that support Python notebooks, as mentioned above.
Since Python files can be run in the background without any UI, they are really common in practices, especially in automatic pipelines or in production, where tasks should run without the need for human interactions. As a result, using .py files is recommended for Python programming, and one should learn to use .py files as soon as he feels familiar with notebooks.
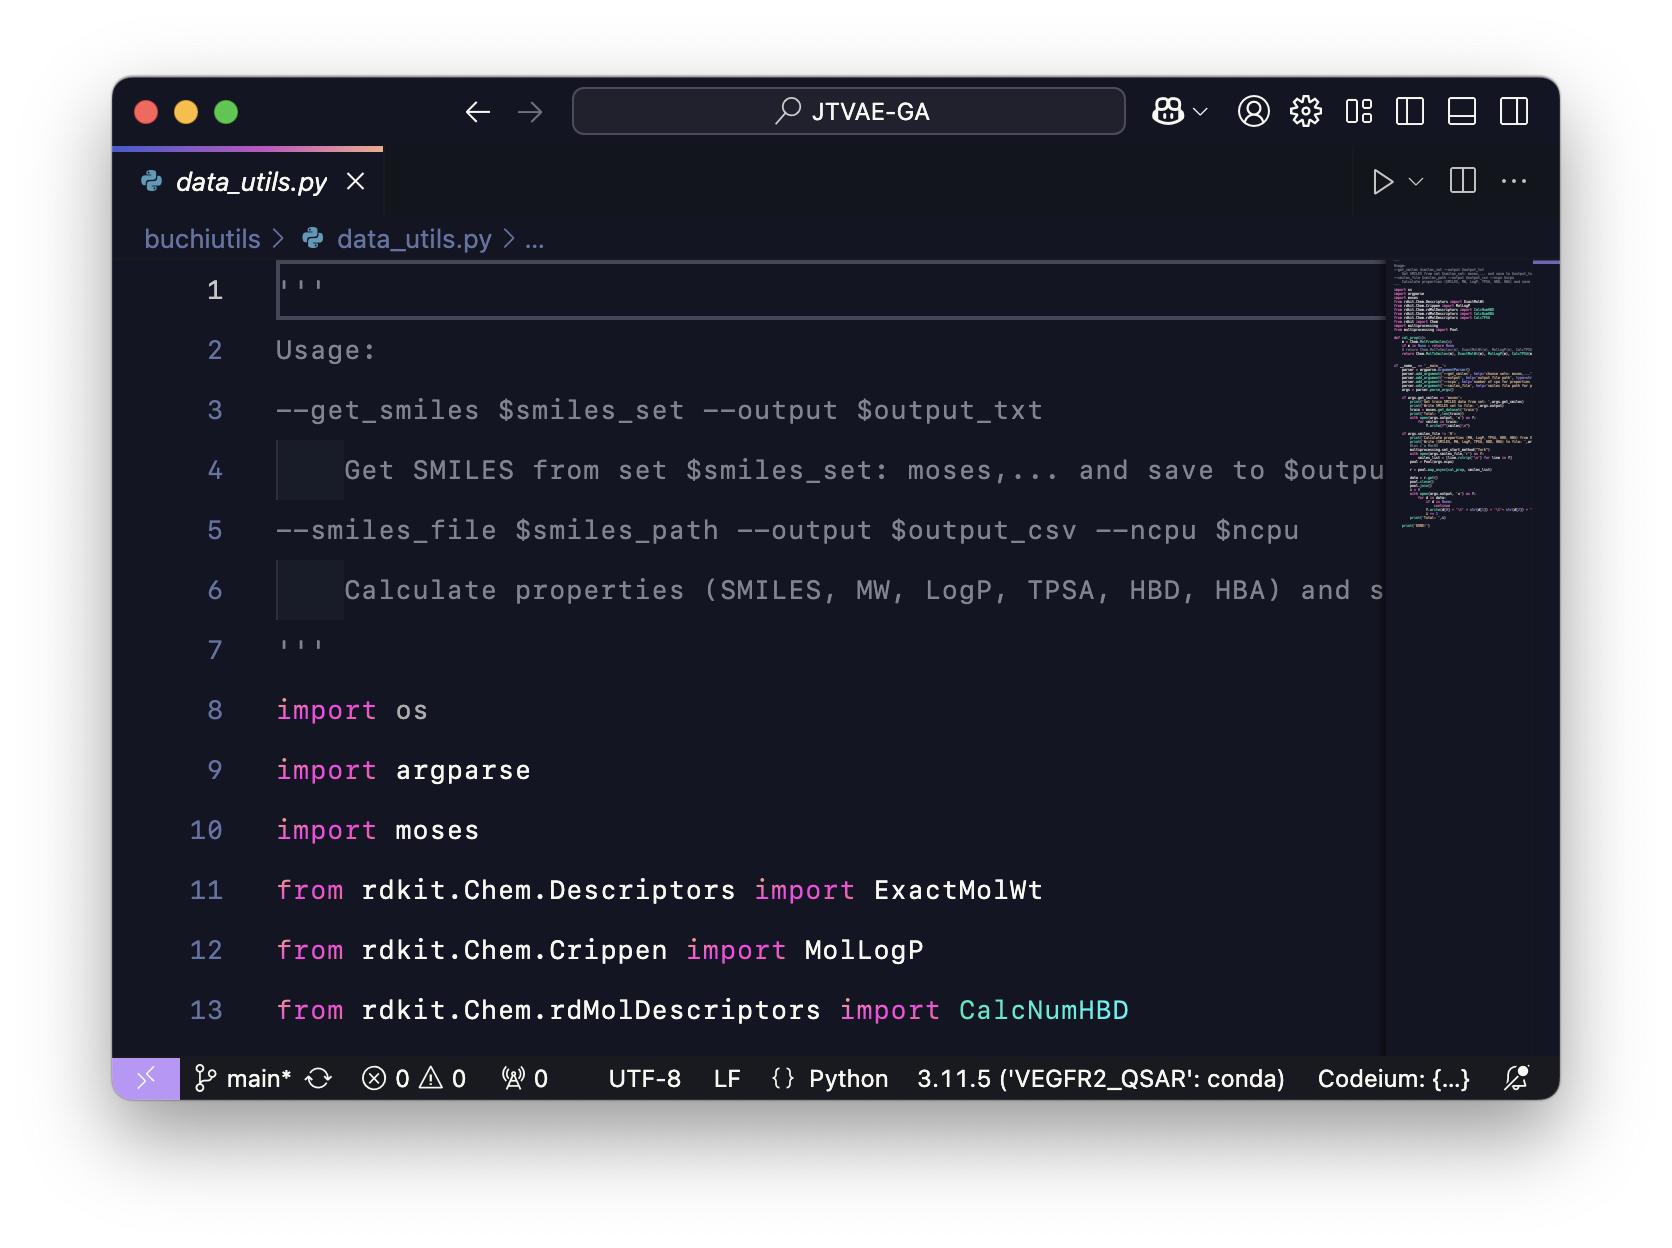
A Python file in Visual Studio Code
Things to note
Python files (.py files) is text files containing Python source code.
Python files need to be run using command lines with python executables in Python environments.
Python files are text files that can be created and edited by various text and code editors.
Python files can do whatever Python notebooks can.
Python files can be used with any purposes, especially tasks that require automation or are resource-intensive.
3. Virtual environment
3.1. Version issues
Python releases
In in silico drug development practices, there are many pipelines where Python programming language is involved. However, Python itself has a long history, with a new release each year (usually in October) with major and minor changes in their libraries, syntaxes, etc. This leads to subtle or even significant differences in how Python, as well as third-party Python libraries, behave between different versions. Here are two examples.
Example 1: The pickle library
In Python, the pickle library is widely used in practices for serializing and de-serializing a Python object structure. In other words, pickle supports exporting a Python object to a binary file as well as converting that file back to its corresponding Python object. This pickling strategy is helpful for storing Python objects on disks for later uses or sharing without having to recreate them from scratch. A typical example of this use is storing processed training data before the model training stage, especially when the input data is extensive in size (thousands to millions of molecules or more) or the data processing step is resource-intensive (heavy-computing or time-consuming).
In Python 2.x, this library can be imported using both pickle and cPickle, a C-accelerated version.
In Python 3.x, this module is combined. The library is only imported using pickle.
Therefore, the below code block can raise ImportError in Python 3.x:
import cPickle# ImportError: No module named 'cPickle'
The correct importation in Python 3.x should be:
import pickle
mkusner/grammarVAE is an example of a molecular variational autoencoder model that utilized this library in a Python 2.x environment.
Example 2: TensorFlow 1.x vs TensorFlow 2.x
TensorFlow (TF), an open-source library developed by Google, is one of the most popular frameworks for machine learning and deep learning. Launched in 2015, it provides developers with tools to design, build, and deploy machine learning models efficiently across a variety of platforms, including desktops, mobile devices, and cloud environments.
The newest major version of TF is TF 2.x (in January 2025). The first version of TF 2.x was TF 2.0 (released in September 2019), introducing huge changes in terms of behaviors and the APIs compared to TF 1.x. One of the most noticeable changes is the switch from compiling abstract syntax tree in TF 1.x to eager execution in TF 2.x, which can result in old TF 1.x models needed to be rewritten from scratch to be able to run on TF 2.x. These changes may bring huge workloads to developers who want to adapt previous models to the new TF library for applications, modifications or comparisons. For example, jaechanglim/CVAE is a character variational autoencoder for molecules that implemented TF 1.x as the leading deep learning platform.
How about installing old TF versions to run old models?
Machine learning and deep learning, in general, require enormous computing resources. In other words, strong CPUs (central processing units), GPUs (graphics processing units), NPUs (neural processing units) or even TPUs (tensor processing units) are needed to train, test, and deploy AI models. These types of hardware are released over time to introduce better performance. Therefore, software and libraries also need to be updated to optimize for newer hardware and utilize breakthrough technologies.
Consequently, old versions of software and libraries may not be able to run on new hardware. In particular, installing TF 1.x could allow old models to function without reimplementation. Still, it cannot benefit from the strong performance of modern hardware (GPUs or NPUs, to name a few). Using old libraries may only allow models to run on CPUs, which are not designed for parallel computing, usually resulting in a heavy drop in performance up to a hundred or thousand times compared to GPUs.
The same phenomenon can also occur in the core package of Python. New devices implemented with arm CPUs such as Apple Silicon (MacBook, Mac Mini, Mac Studio with Apple M chips (Apple M1, M2, M3, M4,… series)), or Qualcomm Snapdragon (8cx, X Plus, X Elite,…), etc. need to use software and libraries that support the arm architecture (usually arm64). The oldest version of Python that supports this architecture was Python 3.8. That means Python 3.7 and older versions cannot run on these devices.
TL;DR: Old libraries may not support newer hardware, resulting in a fallback to CPUs, which can heavily hurt computing performance compared to GPUs or other processing unit types. In worse scenarios, they may not support newer CPUs, especially the arm architecture (Apple Silicon, Qualcomm Snapdragon, etc.).
The above examples emphasize the importance of identifying versions in practices. One always needs to note down the version of the software and libraries, or even better, the hardware he used in order to allow others to reuse, modify and deploy the methods or recreate the experiment results.
However, a in silico drug development pipeline may consist of various software and libraries with a range of versions. In most cases, the more modern the tools are, the easier their installation could be. Therefore, newly developed tools can cooperate reasonably inside a single Python environment. Even so, in the long term, many pipelines need to be installed on a single computer that could pave the way to conflicts between packages. This is why we need Python virtual environments.
Things to note
Different versions of software and libraries lead to changes in their operations, syntax, etc.
Some minor changes could be easily adapted, while various significant changes require enormous workloads for the migration of old codebases to newer versions.
Old versions may not support newer hardware and, therefore, cannot utilize their breakthrough performance, resulting in a heavy drop in computing efficiency (tasks being slower or even unable to perform).
Always note down the version of the software and libraries or even the hardware for future uses.
Each pipeline or stage in a pipeline could have its requirements for specific versions of software and libraries. Virtual environments help achieve this purpose, as well as prevent conflicts between packages.
3.2. Dependencies
Python libraries, or software in general, usually require some other programs/libraries to be pre-installed to provide necessary code or APIs (application programming interfaces) to help them function properly. In other words, these libraries/programs depend on several other libraries/programs, usually called their dependencies. In most cases, a specific version of the software also requires its dependencies in a range of particular versions.
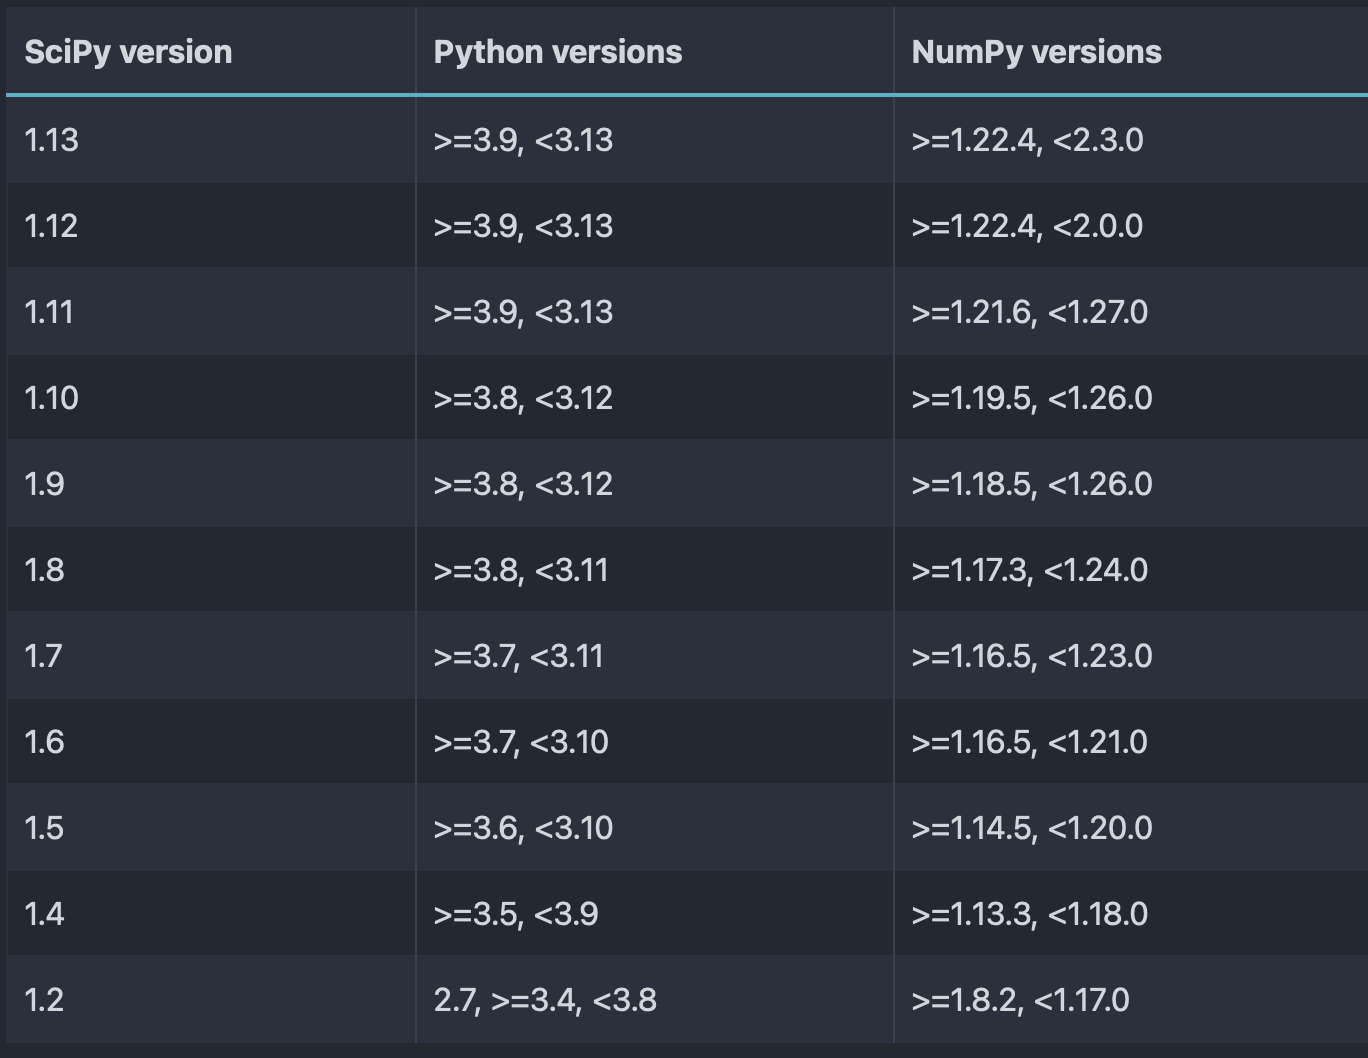
For example, SciPy is a well-known open-source Python library for mathematics, science, and engineering. This library is also a dependency of various popular ML/DL Python packages (TensorFlow, PyTorch, [NetworkX](https://networkx.org, etc.). The table below shows the Python and NumPy version support per SciPy version. It can be derived that each SciPy version only supports a limited range of Python and NumPy versions. SciPy 1.13, for example, cannot be installed together with Python 3.7 or NumPy 1.1x.
Python and NumPy version support per SciPy version
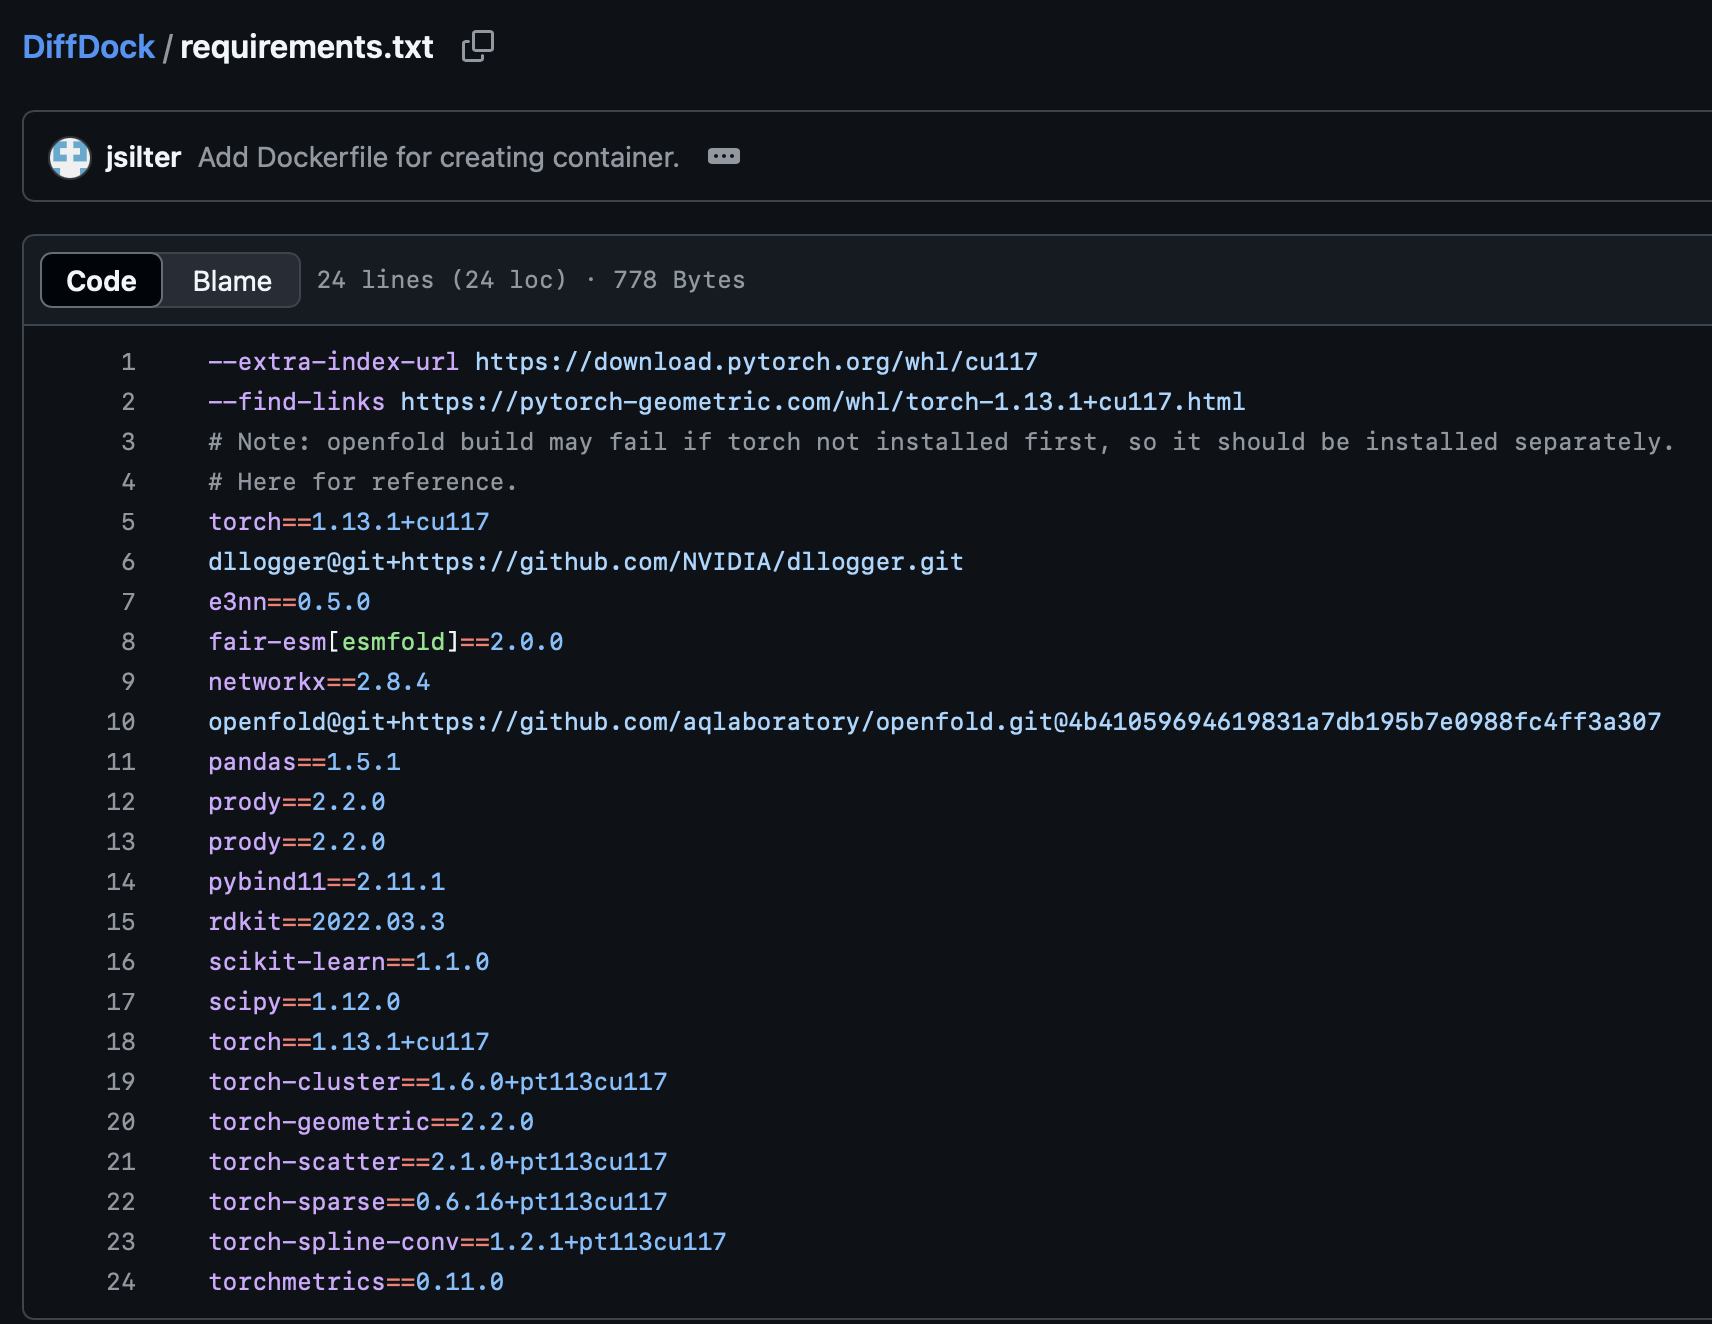
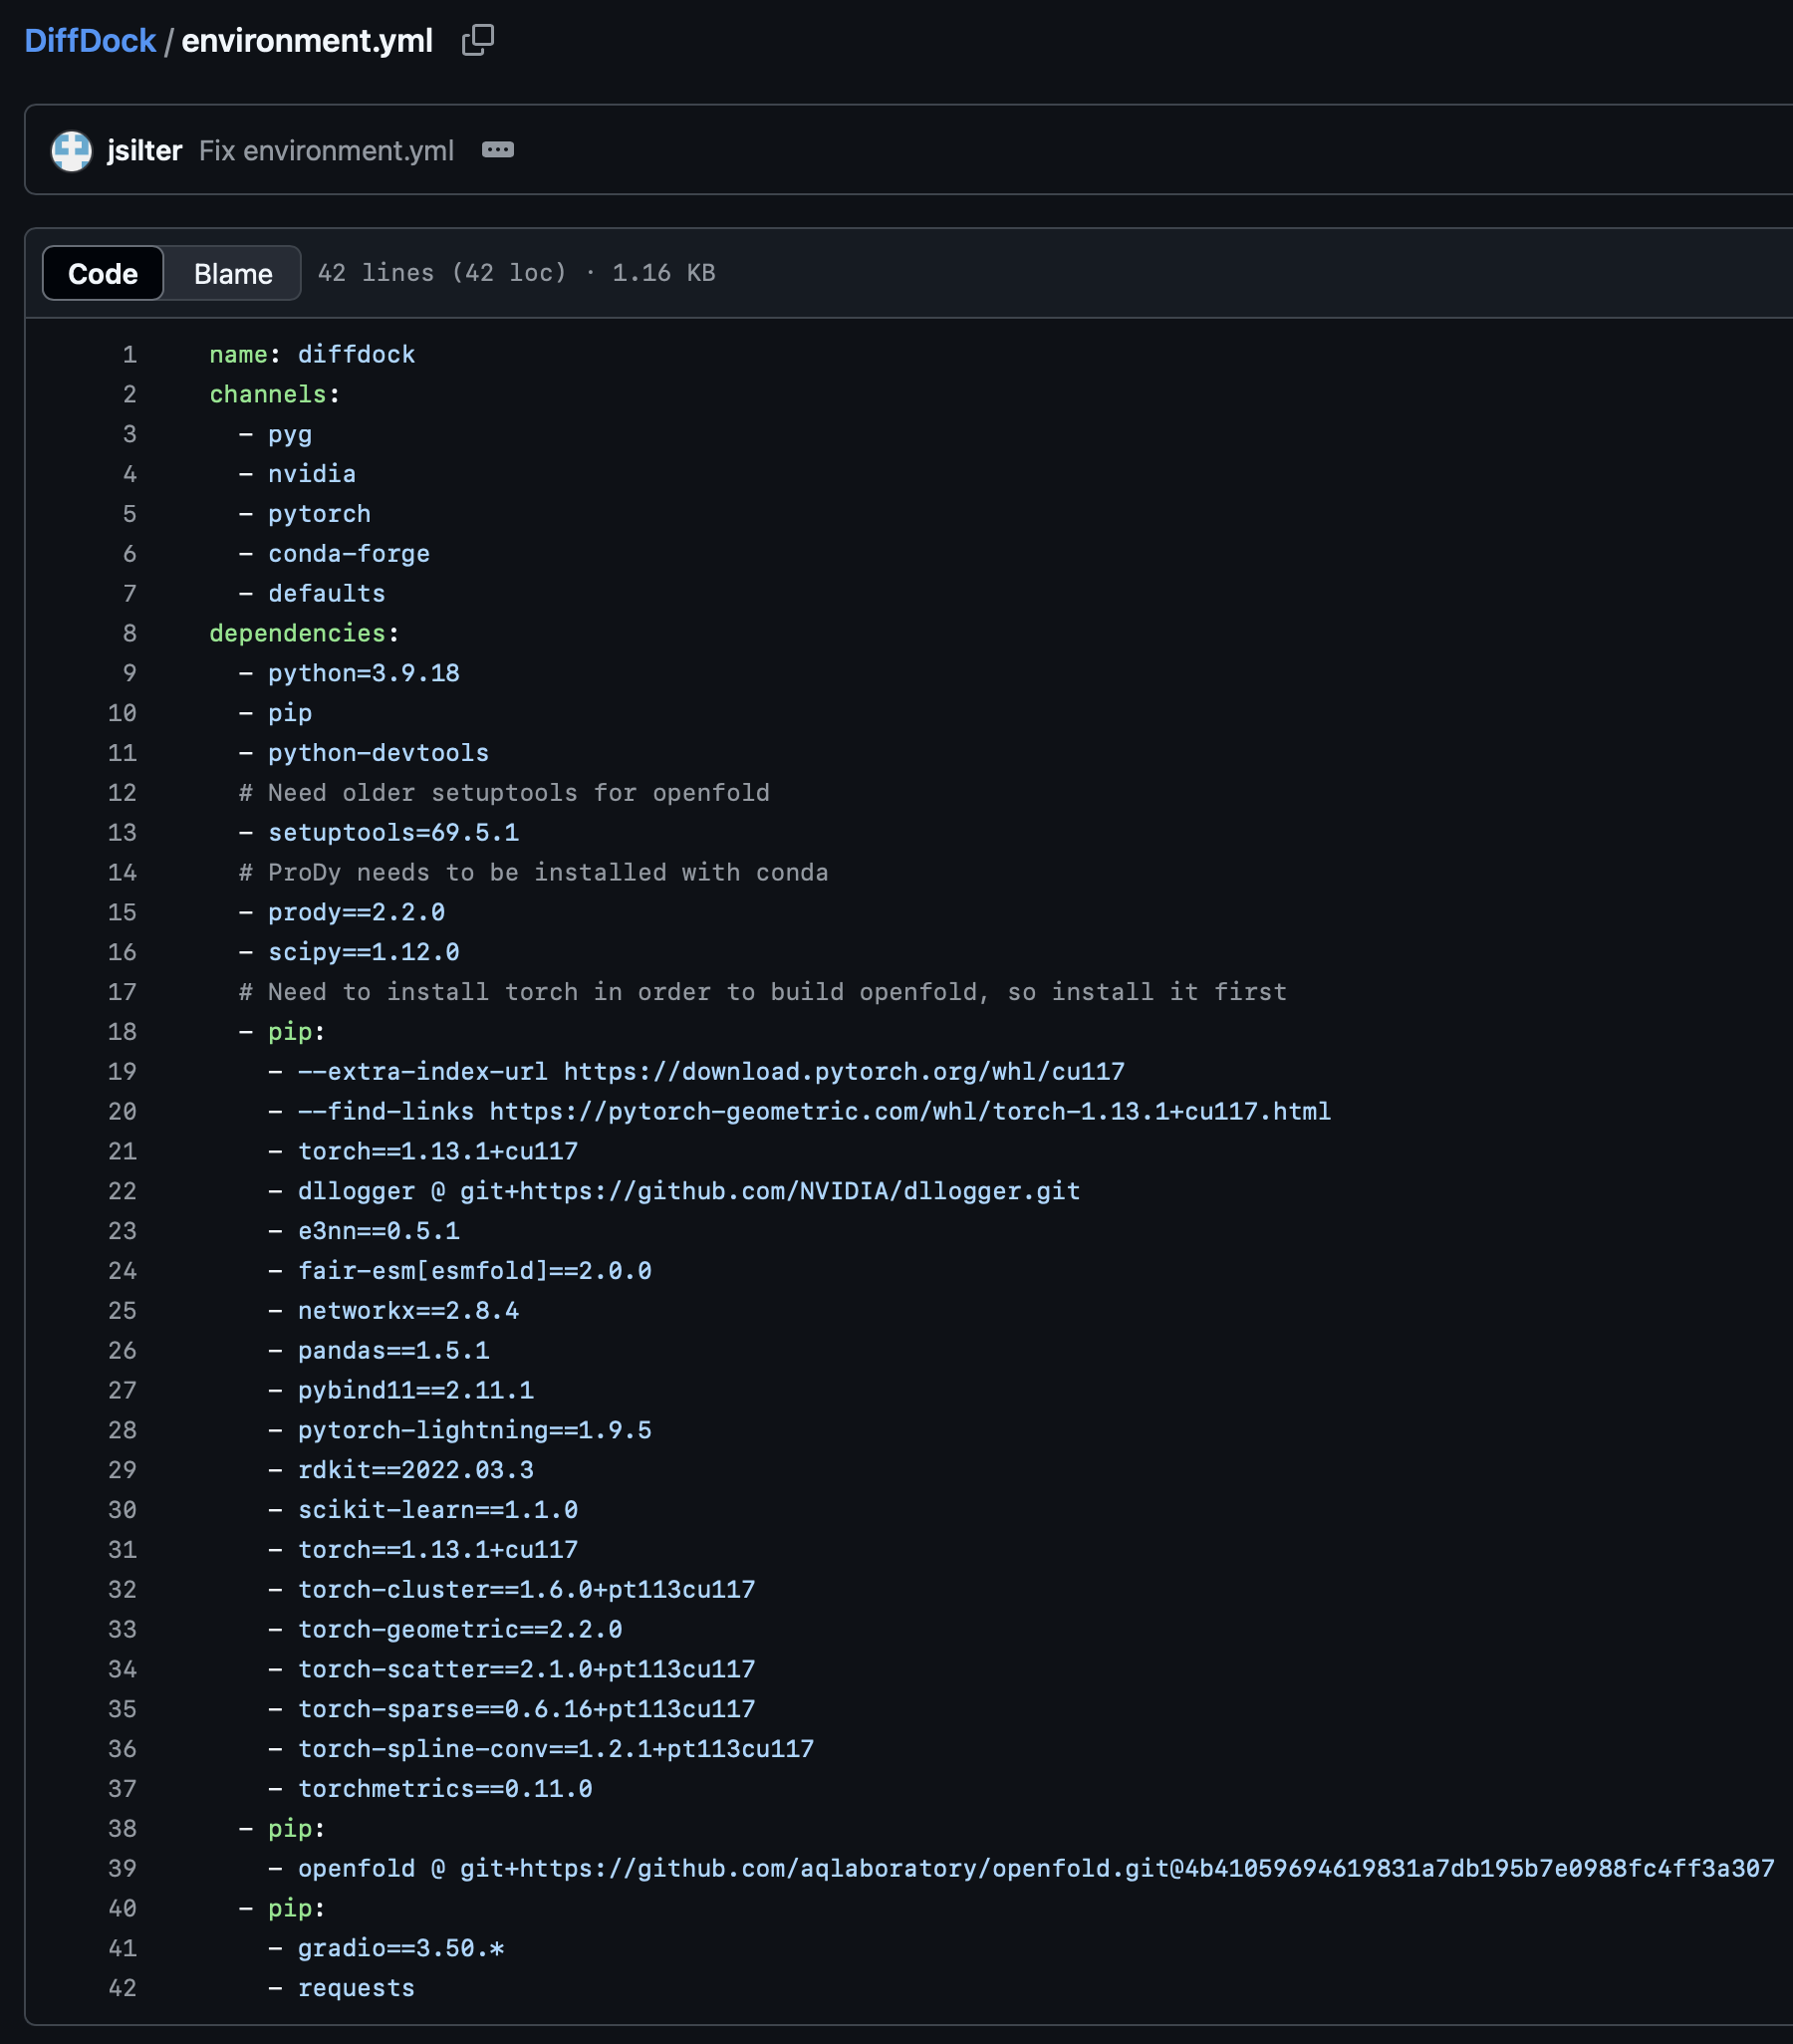
Dependencies of Python software may be described in forms of lists, tables, requirements.txt files for pip packages, or *.yml for conda environments, etc. For example, gcorso/DiffDock provided both requirements.txt and environment.yml files to explain the dependencies.
Dependencies explained using requirements.txt and environment.yml files in gcorso/DiffDock
In in silico drug development, there are three main ways to install packages and/or their dependencies including:
Using pip:pip can help install packages from their source codes and wheels (pre-built source codes). PyPI (Python Package Index) is a famous repository for Python packages that can be installed using the pip tool. For example, scikit-learn is a well-known machine learning platform that can be installed using the command:
pip install scikit-learn
Using conda:conda is a package manager that allows the installation of packages from the Anaconda.org distribution. In addition to the default distribution, the popular conda-forge distribution also provides a community-led collection of conda packages. For example, To install scikit-learn using the conda-forge channel, we can use the command:
conda install -c conda-forge scikit-learn
Manual installation: Packages that are not distributed on online package repositories can be installed manually using python, pip or conda. The types of manually installed packages include developing source codes (not released yet), unofficial versions, and other reasons.
We could use mixes of these installation types for packages. However, it is recommended that we should stick to a specific installation style for all packages in an environment for better compatibility.
Things to note
Dependencies are all the software components and libraries required by the software/project in order for it to work as intended and avoid runtime errors.
A specific package version requires a specific range of versions of their dependencies.
Python packages and their dependencies can be installed mainly using pip, conda or manual installation from sources. If possible, we should use a specific style of installation in an environment.
3.3. Python virtual environment management with conda
conda is a well-known CLI for Python package and virtual environment management. conda is implemented in Anaconda Distribution (Anaconda for short) or its mini-version Miniconda. To download Anaconda or Miniconda, one can access anaconda.com or their documentation (more preferred). Reading the documentation is recommended because they have explained in detail every step and requirement corresponding to a specific OS.
Python virtual environment usage can be summarized into 4 main steps, including:
(Optional) Create a virtual environment
Activate an existing environment
(Optional) Modify the activated environment
Do tasks inside the activated environment
where step 2, activating an environment, is the most critical in practice.
There are various other commands that conda provides. The conda documentation clearly demonstrates those commands as well as their use cases. Again, referring to official documentation is always recommended.
3.3.1. Create a virtual environment
To create a new environment with the name <env-name>, we can use the following command:
conda create -n <env-name>
However, it is usually recommended to clearly define the version of Python for the new environment. For example, to create a new <env-name> environment implemented with Python 3.11, we can use the command:
conda create -n <env-name> python=3.11
Besides Python, we can also create a new environment with multiple pre-installed packages. For example, to create a new environment with Python 3.11, numpy and pandas packages, we can use the command:
We can check all the existing environments as well as their location using the following command:
conda env list
The base environment
conda comes with the default base environment that is mandatory for conda to function. However, Python packages can be easily conflicted. If the base environment is messed up with conflicting packages, conda cannot run normally, which is a nightmare. As a result, the base environment should always be clean, and one should always activate another environment when working. A messed base environment could lead to reinstallation of conda and all existing environments, which could hurt productivity.
When creating an environment or installing packages using conda, the program provides the priority-sorted list of channels and the environment location of where packages will be installed/modified. For example, if we are installing packages from the conda-forge channel:
Channels:- conda-forge- defaults...## Package Plan ## environment location: <path-to-environment>
It is crucial to pay attention to where the packages are installed. Make sure that we consistently install packages to the right environment and not the base environment.conda should ask to proceed every time we make changes to the environment (except when forced with the -y argument):
Proceed ([y]/n)?
3.3.2. Activate and deactivate an existing environment
Before working, we activate our created environment using the following command:
conda activate <env-name>
When starting a shell or terminal, we may notice that the base environment is activated by default. There may be the “(base)” or some sort of symbols in the shell compared to before installing conda. That text/symbol describes which environment we are activating. For example:
Again, always make sure to activate an environment before working/modifying the environment. The base environment should always be clean.
To deactivate an environment, we can use:
conda deactivate
This command will return us back to the previous activated environment, not necessarily the base environment. We can also return to the base environment by using conda activate command:
Google Colab provides Jupyter Notebook sessions, which are already run on a customized Python installation. Therefore, we cannot use conda to manage the virtual environment inside the Google Colab platform. However, to install packages using conda, there is a workaround solution called condacolab (conda-incubator/condacolab). Unfortunately, this package was not maintained for an extended time and is also relatively unstable due to the need to restart the Jupyter kernel to function. Therefore, it is recommended to run conda on physical computers or remote servers instead of relying on online notebook platforms.
Things to note
conda is a CLI for Python package and virtual environment management.
To work in an environment, we must activate the environment first.
conda comes with the default base environment that is mandatory for conda to function.
Make sure the base environment should always be clean, and one should always activate another environment before working/modifying the environment.
Referring to official documentation is recommended.
.svg)